We offer a huge variety of print sizes at Queensberry, but sometimes you may need a custom size to fit your needs. In that case, instead of ordering a non-standard print it's easier (and cheaper!) to order the print on the next largest standard size, with a little white space around the image that you can then trim away. Follow the tutorial below to set up the file to order a non-standard prints.
File setup
You will need to expand the canvas size of the image in Photoshop to match the size of the next largest standard print. You can look up our standard print sizes under PRICES > Other Product Prices in Workspace.
1. Open images(s) in Photoshop (⌘O)
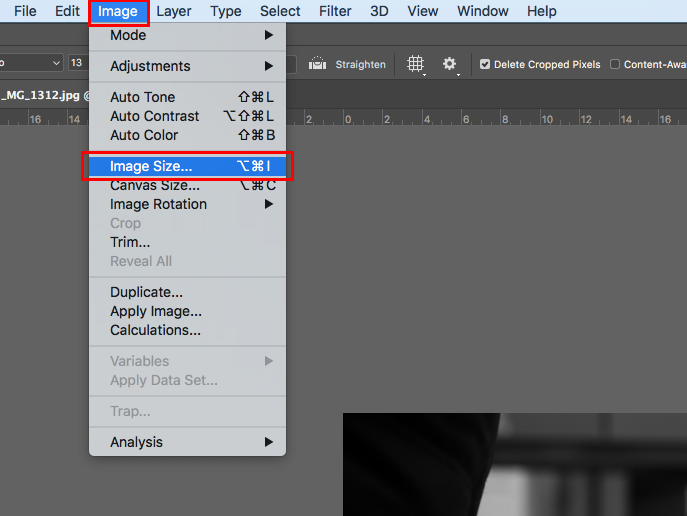
2. Select Image in the navigation bar, Image Size... (⌥⌘I).
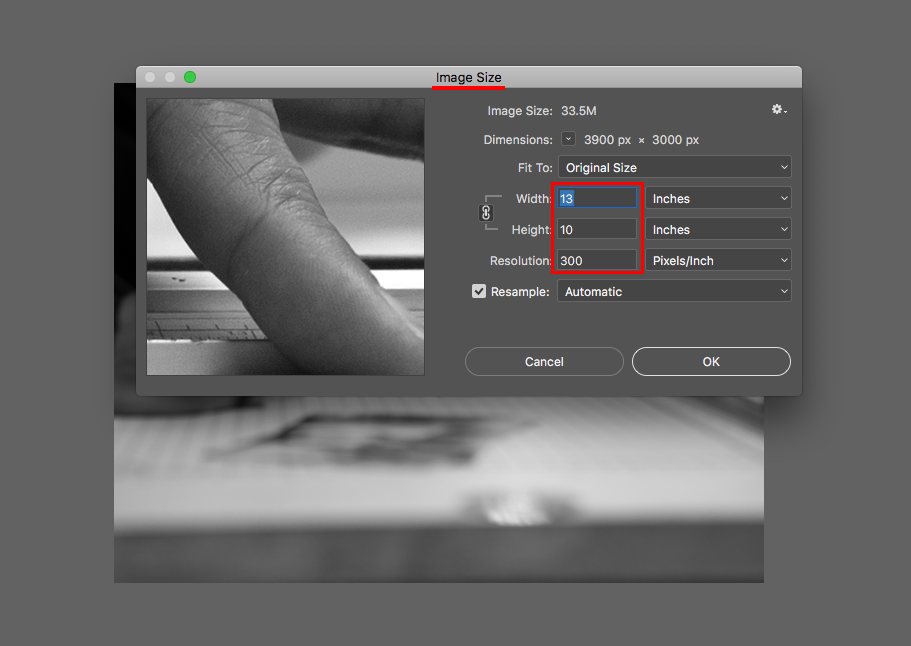
3. Size the image to the custom print size you are wanting Eg. 13x10 inches at least 300dpi.
4. Select Image in the navigation bar, Canvas Size... (⌥⌘C).

5. Size the canvas up to the next standard print size offered. See price list for standard sizes. Eg. In this case, size the canvas to 14x10 inches.
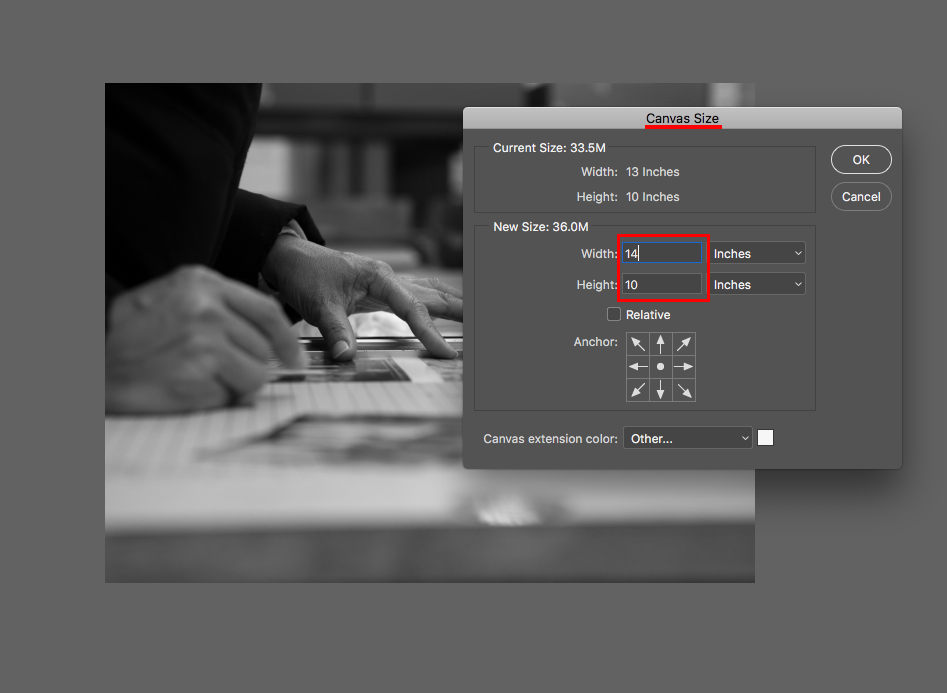
The canvas size will expand to the dimensions entered, adding areas of white to the edge of the print.
6. Go to Image in the main navigation, Image Size... (⌥⌘I) and you can see the whole print size is now 14x10 inches and can be ordered at this size.
PLEASE NOTE: Please email us with your order number and whether you'd like the white area of the print left as-is, or trimmed off by Queensberry (extra charges may apply).
If you would like the area trimmed off by our team, please make the extension colour grey. This will make the trimming requirements more obvious to the team.

Alexandria
Comments